Friday, January 18, 2013

Dear Diary

Dear Diary


This tutorial was written by me. 
Any similarity is purely coincidental. 
It was done using Gimp and
 was written for those who
 have experience using Gimp. 


Supplies:

Tube of choice ~ I used a tube from Sarah Butcher . You must have a license to use her work .
 You can find her work and a license here

Cluster Frame ~ I Used a PU FTU cluster frame from Always Creations here
RD_Cluster Frame1 


Mask of choice ~ I used a mask from Chas Designs here
chas mask 2 


font of choice ~ I used Miss Lankfort 
you can find it here


This is so Easy that I am not sure it even qualifies as a tutorial but here we go!

Open New Image 600 x 600 px

Add New Layer
copy and paste your cluster frame , resize to 550 px width
add drop shadow of choice , my fav ds is 3/4/8/38 , I used it in a tut once and its just stuck with me.
 You use whatever looks best to you

Add new layer 
copy your tube and paste, position the way you like it and resize if you need to
add ds of choice on my tube I always use the default but you can use whatever looks best to you

Add new layer above bg layer 
fill with color from either your tube or the frame
I used #8c7e4b
right click on this layer  and click add layer mask, make sure you have the box ticked for black transparent
copy the mask and paste

hide the bg layer 
merge visible layers , autocrop layer , I resize mine to 550 px width, add new layer and add your copyrights and license number
merge down 

unhide the bg layer and see if you like the way your tag looks , if so then delete the bg layer 
autocrop image , resize if needed 

add your name  

Easy huh? If you have any questions you can send me a message. I would love to see what you make using this tutorial as a guide. My email is 
cindylovesdaisys@hotmail.com

Tuesday, January 15, 2013

Big Girl Panties

Big Girl Panties


This tutorial was written by me. 
Any similarity is purely coincidental. 
It was done using Gimp and
 was written for those who
 have experience using Gimp. 


Supplies:

Tube of choice
I am using an Alex Prihodko tube.
 You must have a license to use his work. You can find his work and a license here


scrapkit of choice
I used is FTU kit called "Toxic Cupcake"  from Made by Justine here


Template : Big Girl Panties from Signature Collections here


Mask of choice
I used mask 39 by Aqua (Circle Mask -FRIDAY, NOVEMBER 5, 2010)  and it can be found here


Font of choice
I used The Mocking Bird
you can find it here


Okay , lets begin

Open new image , white bg , size 700 x 700 px

Open template, normally I just use the template as is and build off of it but it was not aligned right for me so I had to copy and paste each layer to my new image. 
so...... 
Add new layer to your new image and copy/paste sc-black box from template to your new image 
( the layers should be pasting in position , see my tag for position. If its not in the right position use my tag as a guide)

Add new layer, c/p sc- frame, anchor, alpha to selection , copy paper 10 and Paste INTO , anchor , select none

Add new layer , c/p sc-circle  

Add new layer , c/p sc-green circle , anchor, alpha to selection, copy paper 10 , Paste INTO , anchor, select none

Add new layer, c/p sc-lines, anchor
click on the black box layer and alpha to selecton, now click on your sc-lines layer, make sure you have the marching ants,
 select/invert delete, this should make your line layer clean and  inside the box only

Add new c/p one of the word art layers and position the way you want it
Use the fuzzy select tool , click on the BIG Girl Panties ,
 you have to hold down the shift button to keep marching ants in all the letters,
select/grow 2
copy paper 10 and Paste INTO , anchor, select none. 
filters/ bevel , 2 thickness

Add new layer, move below the word art layer
copy and paste your tube, position as you like

Add new layer and move it below your tube layer
copy element Doodle 01 and scale to fit inside black box on left side, see my tag
when you have it the size you like , duplicate, click layers/transform/rotate 90 degrees clockwise
move to right side of tube and place as you like it. I erased part of the dotted line on mine

Add new layer 
copy element frame o2 , resize , I started with 90 width , dup a few more times and resize to your likeing and position
see my tag as a reference

Add your fav drop shadow to the layers 
when you are happy with it , hide the bg layer , merge visible, autocrop layer, I resize mine to 550 px width
unhide bg layer

Add new layer, move it above the bg layer 
copy paper 10 and paste , anchor
right click this layer, add layer mask , black transparent should be checked
copy your mask and paste, anchor

Add new layer, move it above the bg layer 
fill with color #000000
right click this layer, add layer mask , black transparent should be checked
copy your mask and paste, anchor
lower opacity to 40 or whatever you like

delete bg layer
merge visible layers 
autocrop image , resize if needed
add copyrights and your name

I hope this was a fun tutorial for you. I wrote it a day after I made the tag so hope I didn't miss anything.
 I would love to see anything you make using the tutorial. 
Email me at cindylovesdaisys@hotmail.com


Saturday, January 12, 2013

Be Mine

Be Mine


This tutorial was written by me. 
Any similarity is purely coincidental. 
It was done using Gimp and
 was written for those who
 have experience using Gimp. 


Supplies:
Scrapkit of choice. 
The kit I used is Steampunk Valentine Kit -  from Scraps Dimensions here
Thank you for sharing this wonderful kit!


Tube of choice. 
The tube I used is from PFD  here
artist Eugene Rzhevskii , you must have a license to use his art 


Template 176 from Becky P's Creations here


word art of choice or you can make your own
 wordart I used is from DeliciousScraps.com called Be Mine you can find it here


Mask of choice if desired
I used a mask from Chas Designs here


font of choice 


Lets begin

Open template ,delete credits, button, button bg, flower 1 , shadow (delete)#2 ,
 flower petals, shadow (delete)#1


click on lg square 2 layer , alpha to selection, 
 open paper 3, copy and Paste into  layer, anchor, select none,


click on lg square 1 layer, alpha to selection , 
open paper 4, copy and Paste INTO layer, anchor, select none


click on grid , filters/decor/add bevel , thickness 2


click on lg rectangle bg layer , alpha to selection, fill with color #000000 (black), select none


click on lg rectangle layer, alpha to selection , open paper 7 copy and Paste INTO, anchor, select none


click ring layer, alpha to selection, fill with color #000000 (black), select none


delete shawdow layer, thin rectangle bg, and thin regtangle stitch layers


Open wrap 3 , resize to 575 width px , add new layer and paste wrap , rotate -12 and position. Use the thin rectangle as a guide for placement 
After you have it placed the way you like it ....Delete the thin rectangle layer.


click on sm square layer, alpha to selection, copy paper 4 , paste INTO, anchor, select none


click on sm square stitch layer, alpha to selection, copy paper 7, paste INTO , anchor, select none


click on sm square layer, alpha to selection,add new layer, open word art , resize to 175 width px, paste INTO new layer,
 select none, add bevel , thickness 2 , I rotated mine slightly 


click on lg rectangle layer, click inside circle with fuzzy select tool, 
add new layer, move below the lg rectangle layer, 
fill with color #000000 (black), add new layer , make sure you still have the marching ants, 
open your tube close up , copy and paste into , layer/transform/flip horizontally, 
resize and position the way you like it, anchor , select none,
 Lower opacity to 25 ,
 blend tool/mode- overlay, be sure your forground color is black and bg is white, 


Add new layer , open your main tube , resize , I resized mine to 550 height px
place on middle of canvas , paste, now you can move him to the right side , see my tag above, 
click image/fit canvas to layers


Add new layer,move below your main tube, alpha to selection , copy element GUT 4 , paste INTO, position as you like it 
anchor, select none


Add new layer, move below the GUT 4 layer, open element GUT 2 , resize 200 height px, paste and position , use my tag as a guide

Add new layer, open element Heart 1 , resize 160 height px, paste 

Add new layer, open element Heart 4, resize 130 height px, paste


Add new layer , move above main tube layer, open element Bow and Arrow, resize 200 , 
place and use erase to remove the line above the hand


 Add new layer , open element Flower 2 , resize 100 , paste 

Add new layer , move below lg rectangle bg, open element GUT 6 , resize 400 px, adjust if you need to, position , paste

Add drop shadow of choice to all elements and layers, 


Hide white bg
merge visible layers, autocrop layer, resize to 550 width px


Add new layer , add copyrights, merge down
Image autocrop , resize if needed 

Add mask of choice,  if you desire one

add your name 


I would love to see anything you make with the tag tutorial or if you have any questions you can message me at 
cindylovesdaisys@hotmail.com

Thanks for lookiing

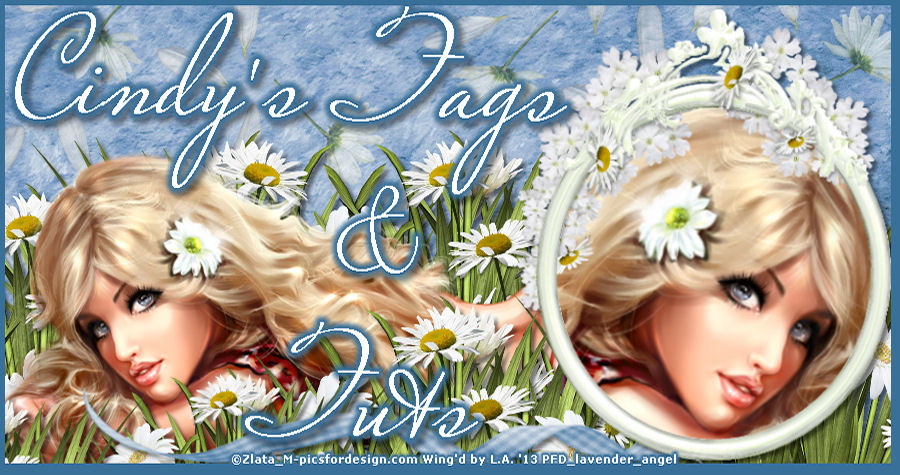
My New Look

I am so excited! Lavender Angel gave me a new look. I think its beautiful. Sooo Me! 
Thank you so much Lavender, Hugs, hugs and more big hugs 
She has a blog and her blinkie is at the side. Hope you will visit her , she is a very talented lady

Every time I come here I smile. Daisies are my fav flower and they always make me smile inside and out